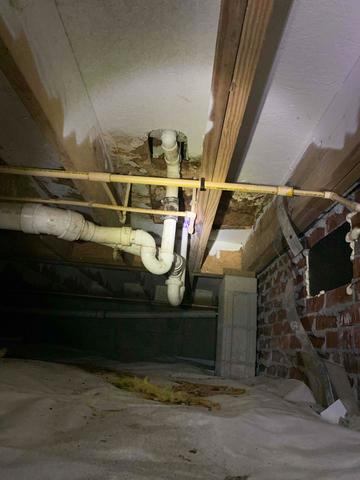
Before Wood Replacement 1
This is the general area where the wood was rotting, near the plumbing that had leaked in the past.
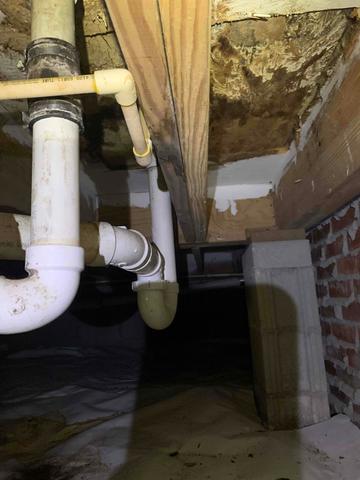
Before Wood Replacement 2
Notice the discoloration of the wood in the area.
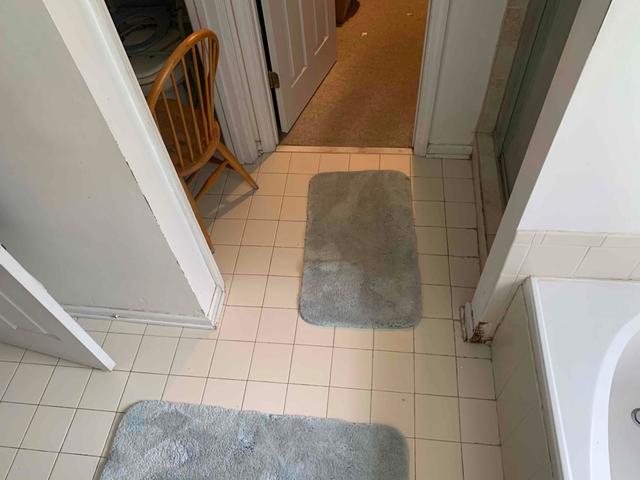
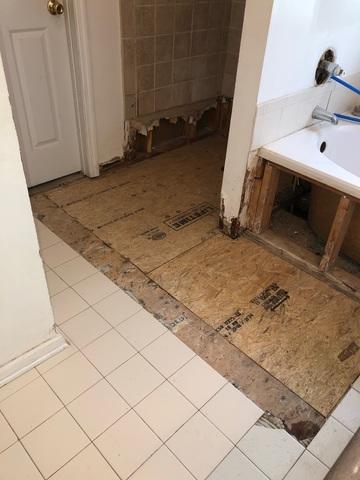
Before Wood Replacement 3
This is the area that would we replaced from an above view.
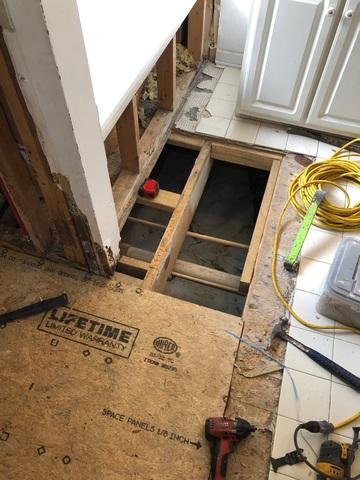
During Wood Replacement
The wood was replaced for the areas that were rotten.
After Wood Replacement
After Wood replacement, the bathroom can then be refinished and used, now with a stable floor.

.png)