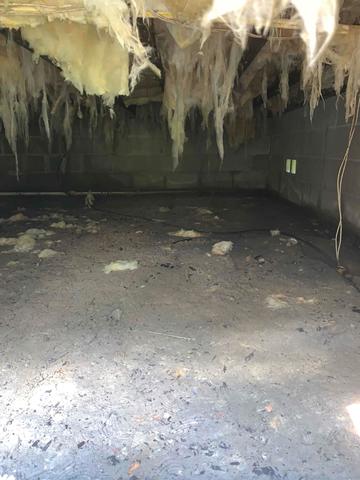
Before Encapsulation
This is a photo before the vapor barrier is installed.
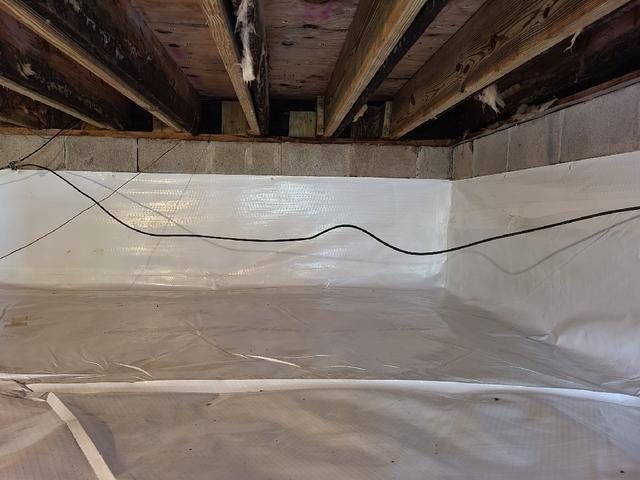
After Encapsulation 1
This is a photo after the vapor barrier is installed.
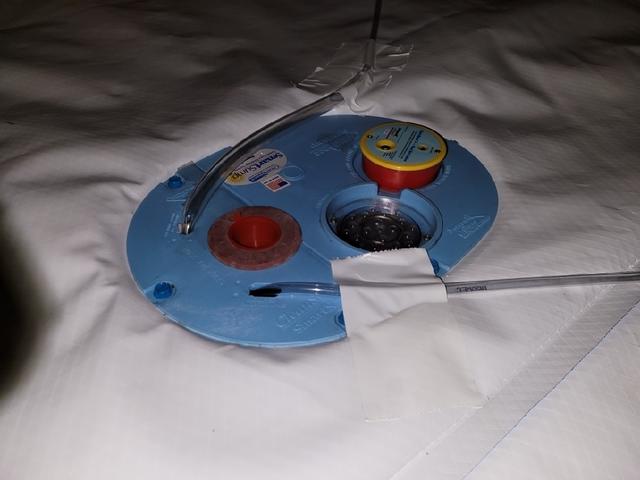
After Encapsulation 2
The Smart drain gets read of excess water in the crawlspace.

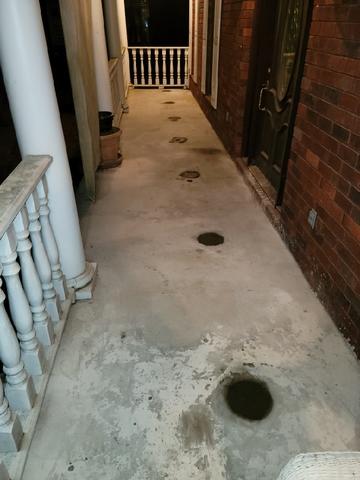
Before Piering
This is a photo before the piers were installed.
After Piering
This is a photo after the piers are installed.

.png)