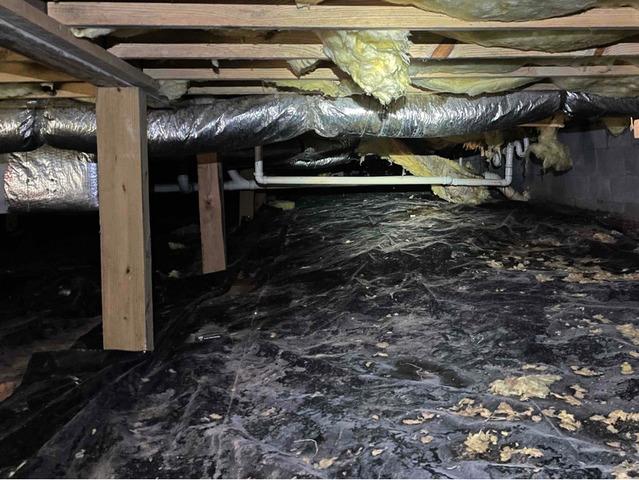
Before Encapsulation
Here is an area of the crawl space before installing CleanSpace to seal off moisture.
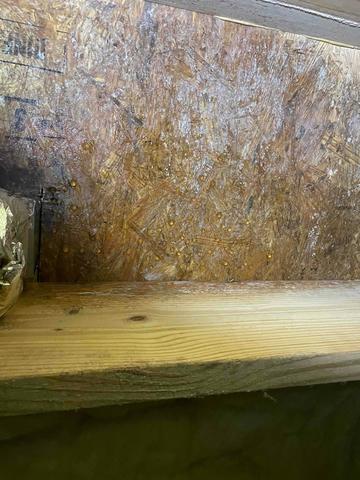
Condensation Dripping From Subfloor
The cold ducts and high humidity were causing condensation to form on the subfloor, putting the floor at risk.
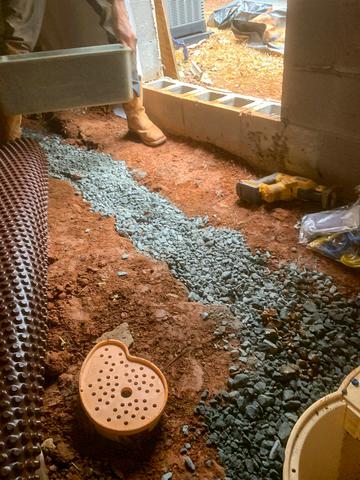
Perimeter Drainage System
The perimeter of the crawl space has a filtered drainage pipe channel called HydroLink that intakes water as it seeps in under the liner - draining it into a sump pump to be removed altogether from the space.
Drainage Matting Layer
Before the CleanSpace Vapor Barrier is installed, a layer of drainage matting is installed to aid drainage of water into the perimeter drainage system.
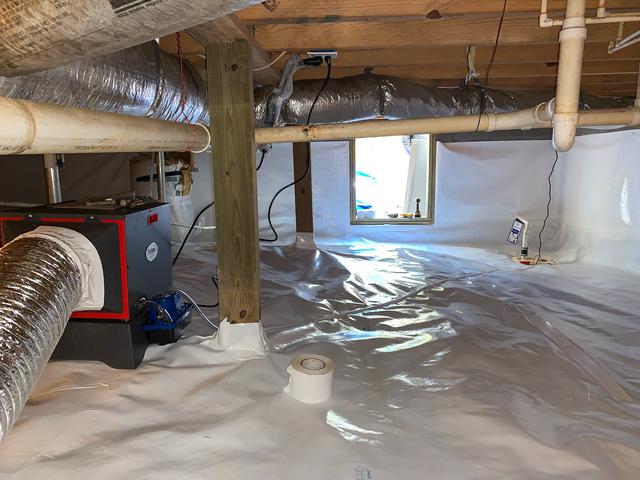
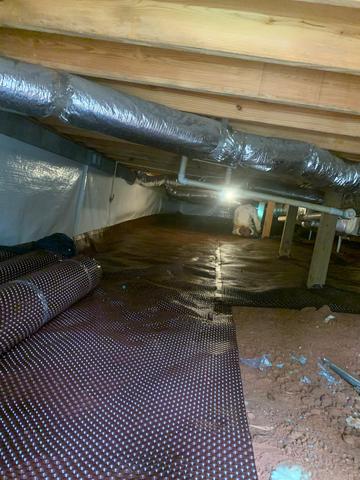
After CleanSpace Encapsulation
After the crawl space is enclosed with the CleanSpace Encapsulation System,
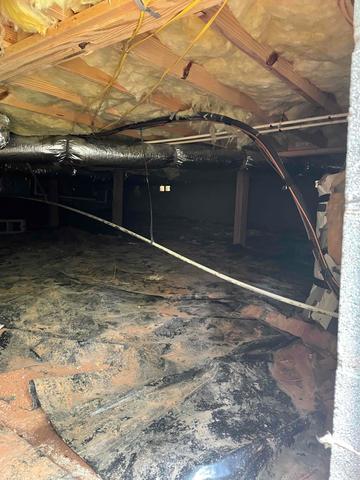
Nasty Crawl Space
This crawl space was suffering from moisture issues and settlement in the floor due to weakened wood.
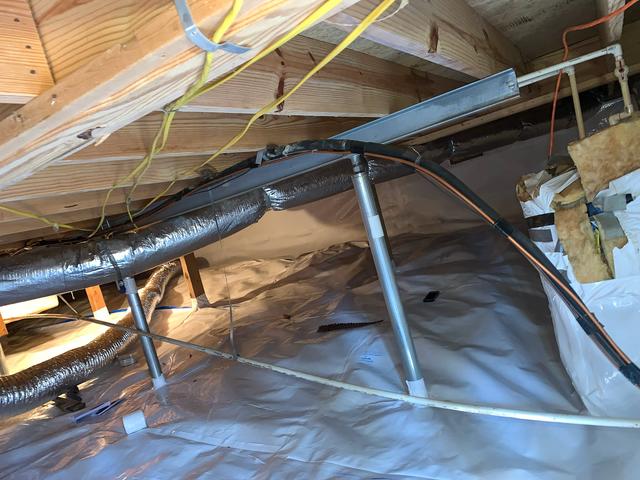
After SmartJacks & CleanSpace
After the systems are installed, this crawl space will remain supported and moisture free

.png)