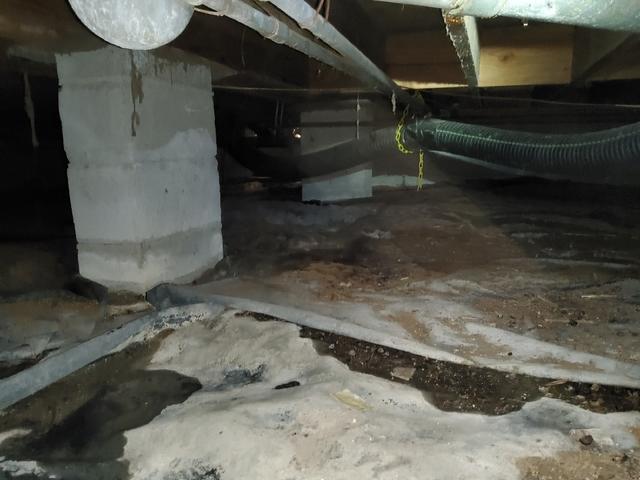
Water Puddles in Crawl Space
There were puddles of water in the crawl space from water seeping into the crawl space. There was also a small active plumbing leak that was discovered by our inspector. The homeowner was informed of this and shown the existing signs of water seepage.
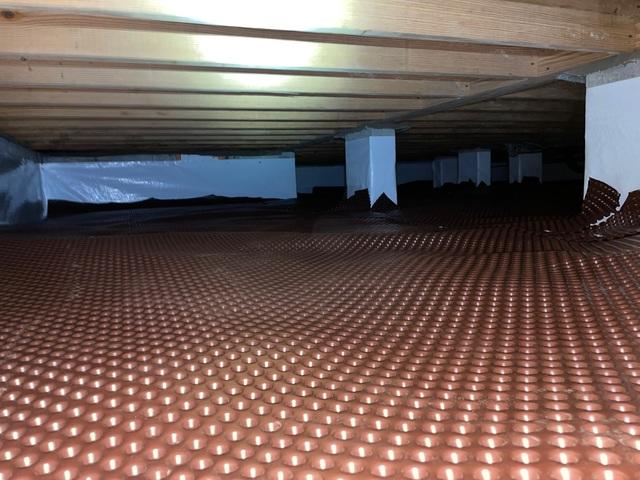
Drainage Matting Layer
Drainage matting is the first layer installed in a CleanSpace Encapsulation to help water flow to the sump pump.
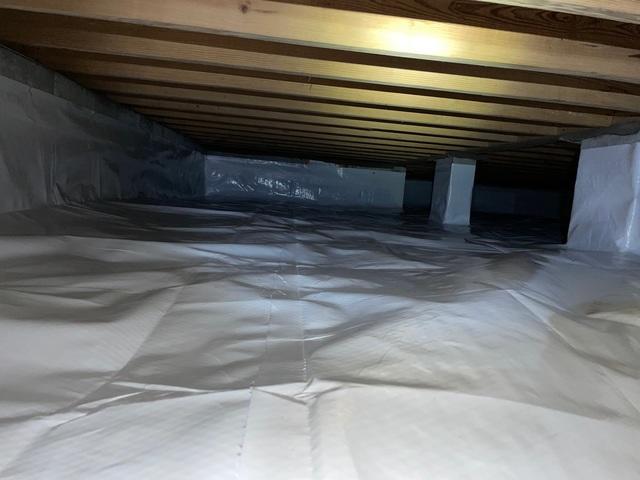
Vapor Barrier Layer
This image is after the encapsulation was installed. The CleanSpace Vapor Barrier layer is installed on top of the drainage matting.
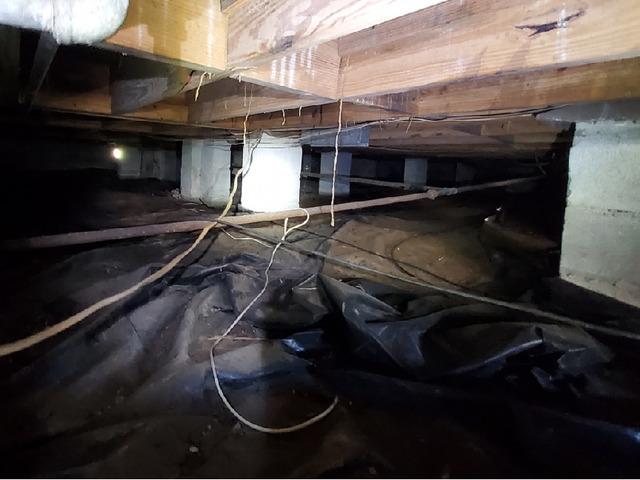
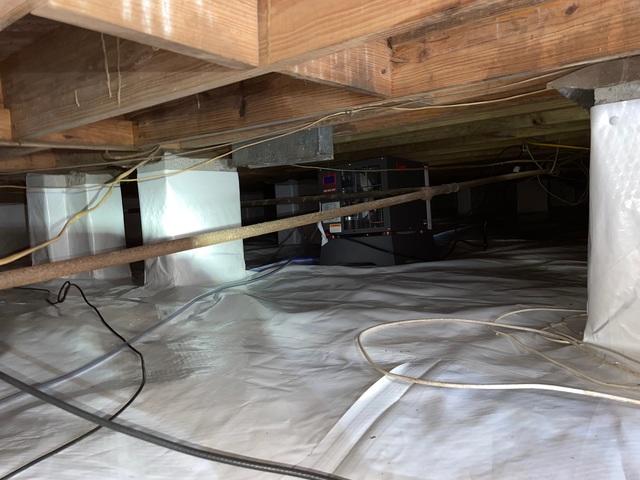
Before the Encapsulation was Installed
This is a central area where the encapsulation was installed. The SaniDry Sedona dehumidifier was also noted to be installed here between the pillars.
After CleanSpace Encapsulation
This is what the central area of the crawl space looks like after the CleanSpace Encapsulation. The SaniDry dehumidifier was installed as well, seen between the pillars.
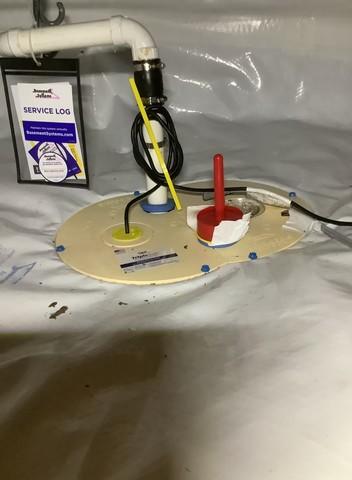
Installed Sump Pump
The sump pump takes in water that tries to seep into the crawl space and pushes it out and away from the home.

.png)