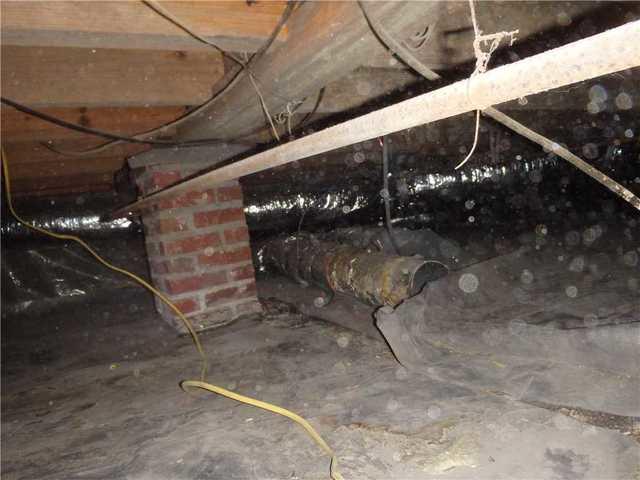
Before Encapsulation 1
The crawlspace was in need of an encapsulation. The moisture levels were high in the space, contributing to mold or wood rot.
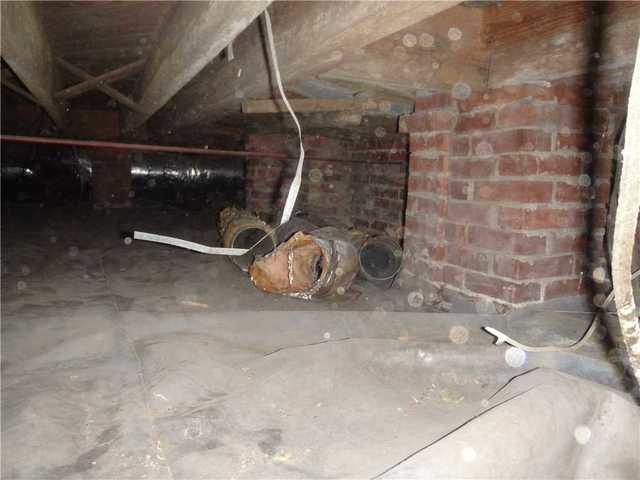
Before Encapsulation 2
The debris left in the space would also be removed.
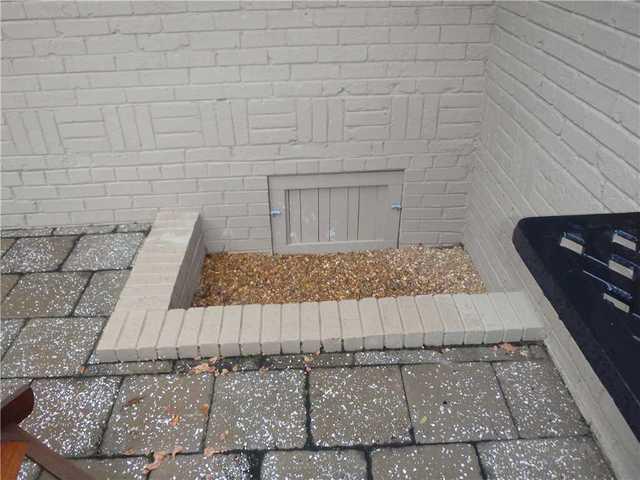
Before Sealed Door Installation
This is before the sealed door installation. The wood door allowed outside moisture to come into the space.
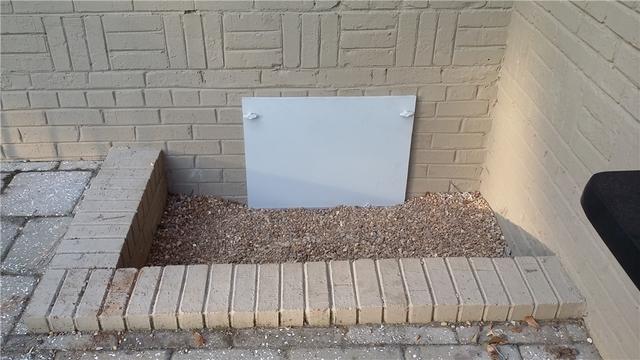
After Sealed Door Installation
The new door seals off the crawlspace from the outside moist air.
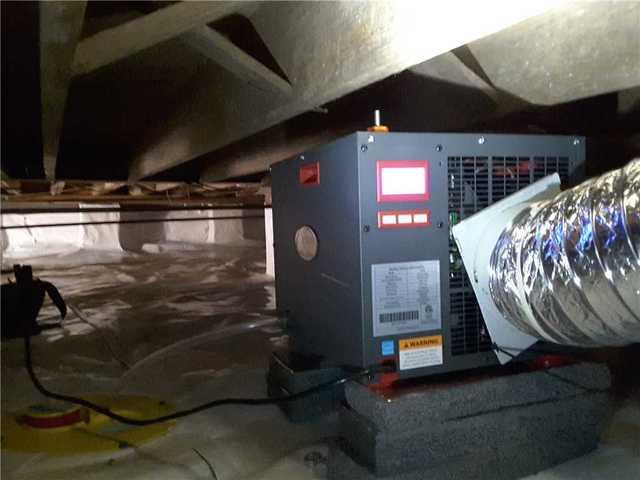
After Encapsulation 1
A dehumidifier is installed with an encapsulation to monitor and control the moisture levels.
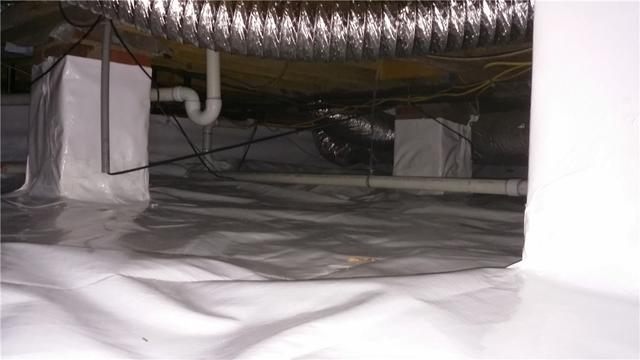
After Encapsulation 2
A vapor barrier is used to seal off the space from outside moisture.

.png)