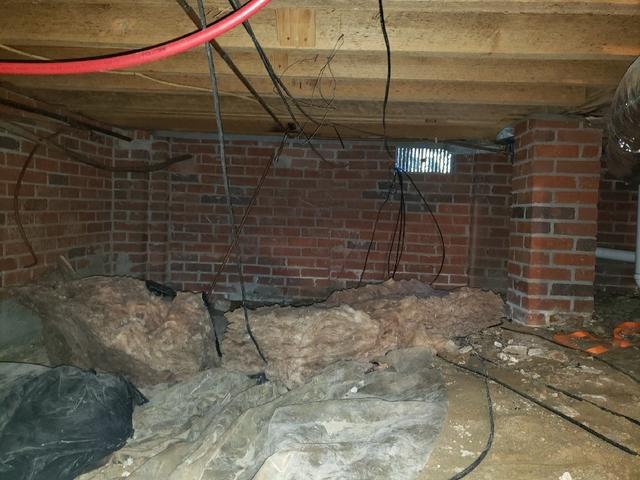
Before 1
Here is the crawlspace before. Notice the fallen insulation, which is a sign that moisture soaked the insulation until it fell from the weight.
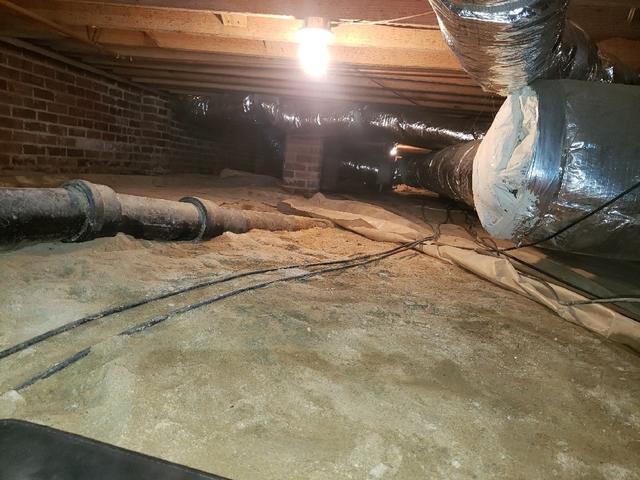
Before 2
This is what the crawlspace looked like before encapsulation in this area. See after picture 2 to see the difference.
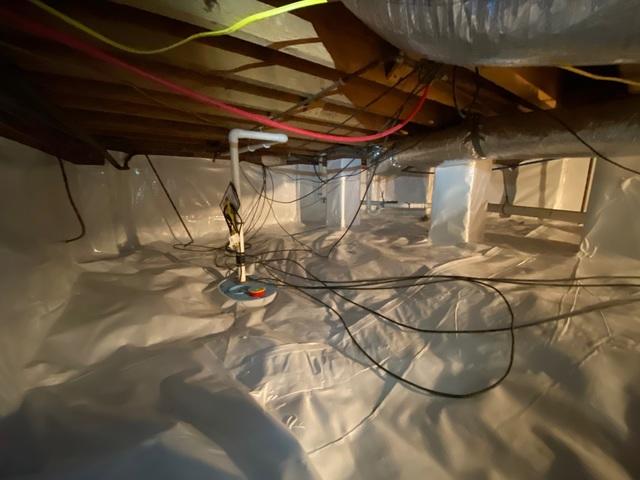
After 1
Here is where the sump pump of the encapsulation was installed. It takes water and pushes it away from the home.
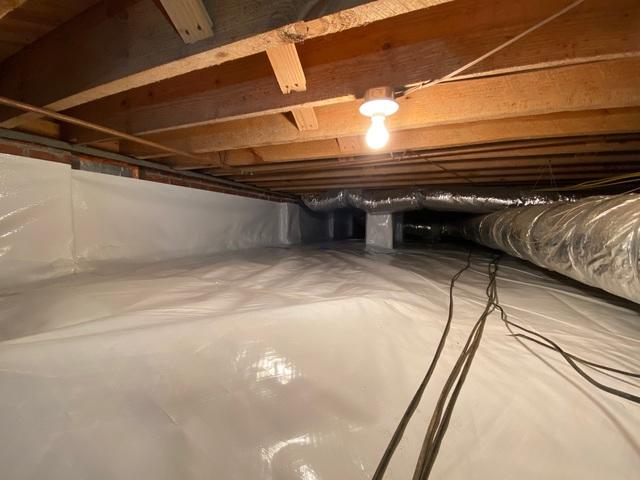
After 2
Here is the crawlspace after the encapsulation.
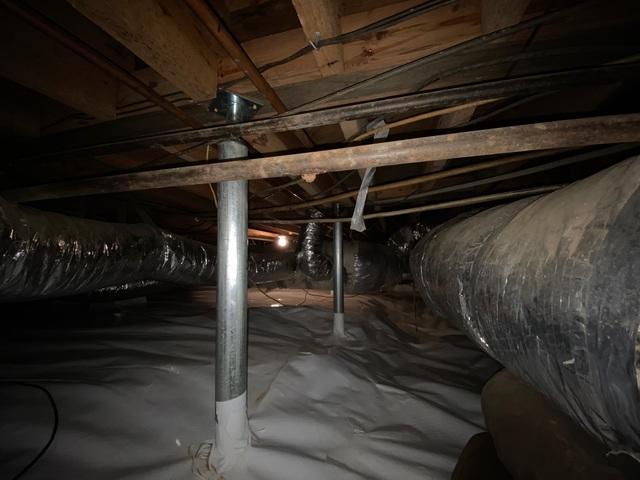
After 3
Here is a section where SmartJacks were installed to lift and support the floor.

.png)