
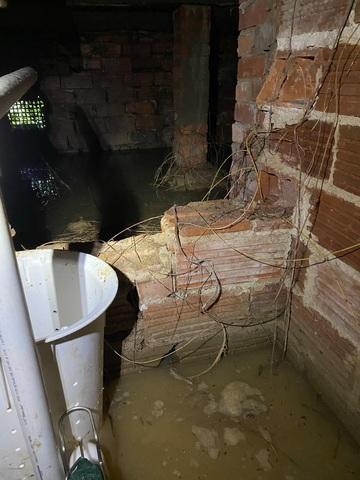
Before Encapsulation 1
Notice the water pooling. Our sump system was used to pre-drain some of the water as well before the space was dry enough to install the vapor barrier.
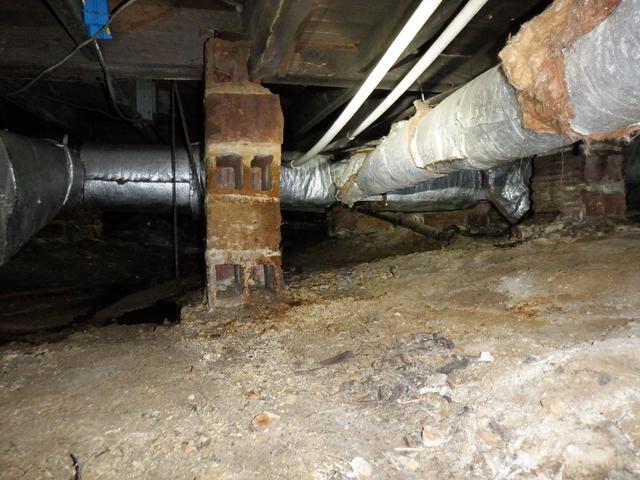
Before Encapsulation 2
This is what the crawlspace looked like before the encapsulation. See the matching after photo for reference.
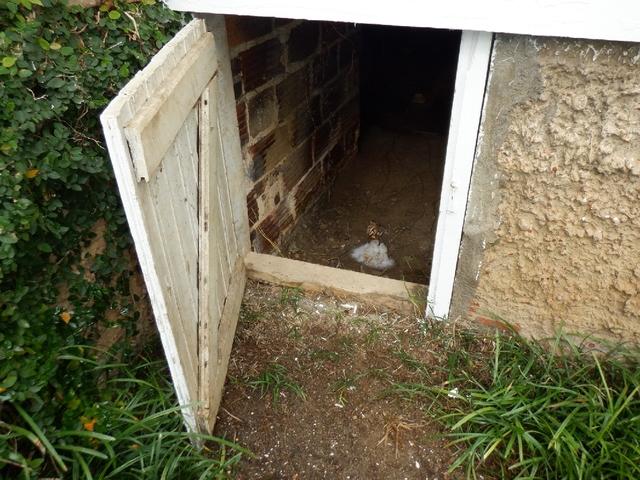
Before Encapsulation 3
This is the crawlspace door before encapsulation. See the matching after photo for reference.
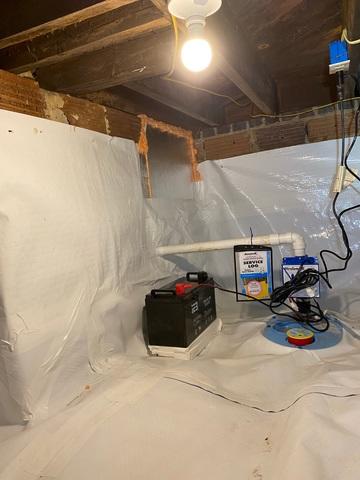
After Encapsulation 1
The crawlspace is now clean and dry!
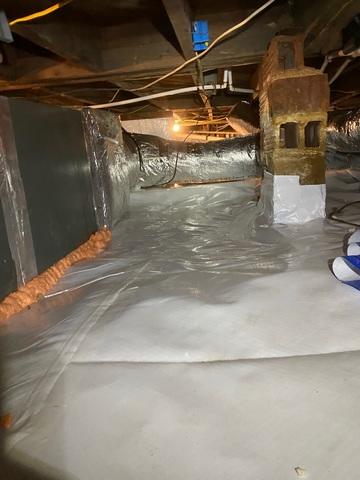
After Encapsulation 2
This is the final result of the encapsulation.
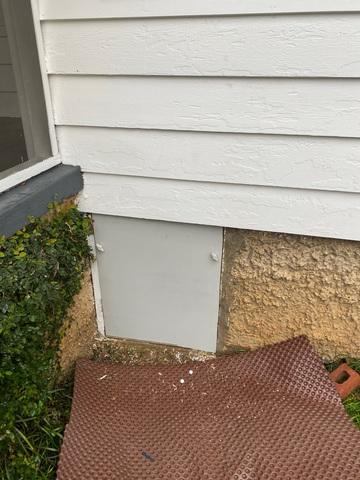
After Encapsulation 3
Here is the new crawlspace door, designed to seal off outside moisture.