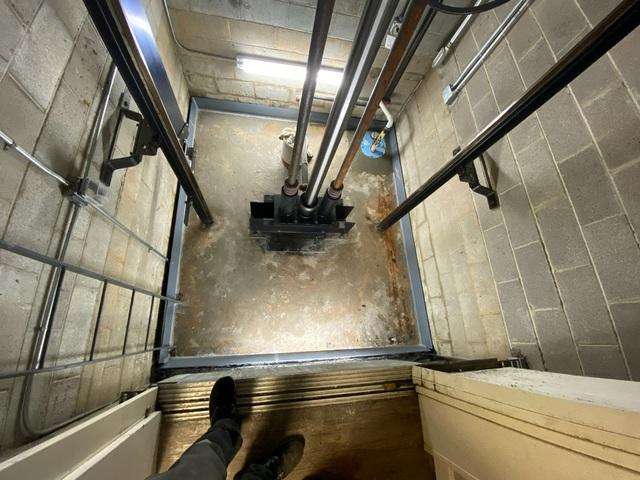
Elevator Shaft with Water Intrusion
This elevator shaft had water seeping into it, rusting the exposed metal parts of the elevator. It was time to get a waterproofing system installed.
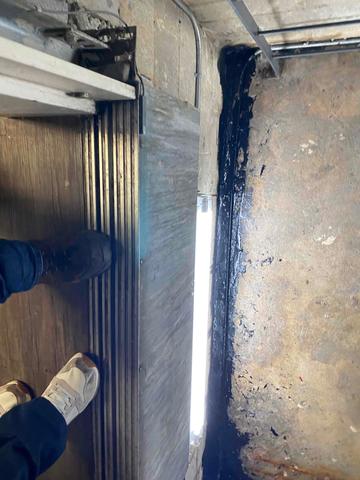
Tar Sealant DIY Repair
In a DIY attempt to keep the water out, the owner used a tar based sealant to try to keep water out, but this method is not very effective.
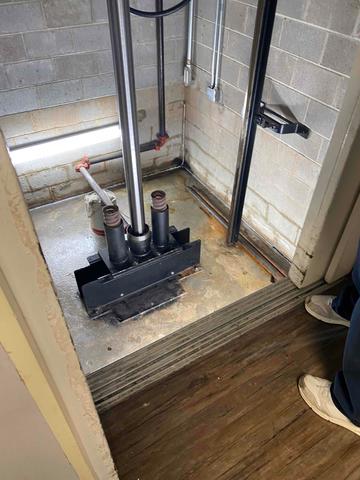
Installed Waterproofing System
DryTrak perimeter drainage and a sump pump were use to keep the elevator shaft dry all the time from now on.
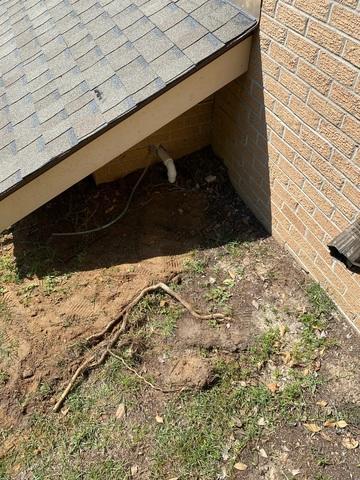
Discharge Line Exiting Building
Here is where the discharge line was installed, continuing underground away from the building until it meets the LawnScape outlet.
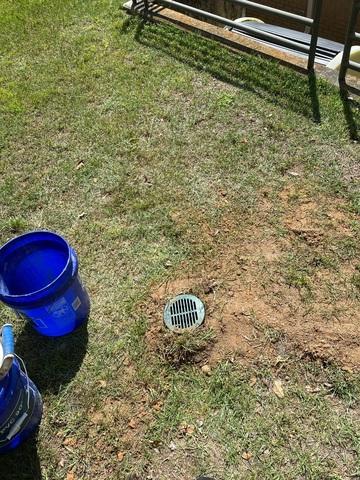
LawnScape Outlet
This is where the discharge line leads to underground to pump the water out away from the building.

.png)