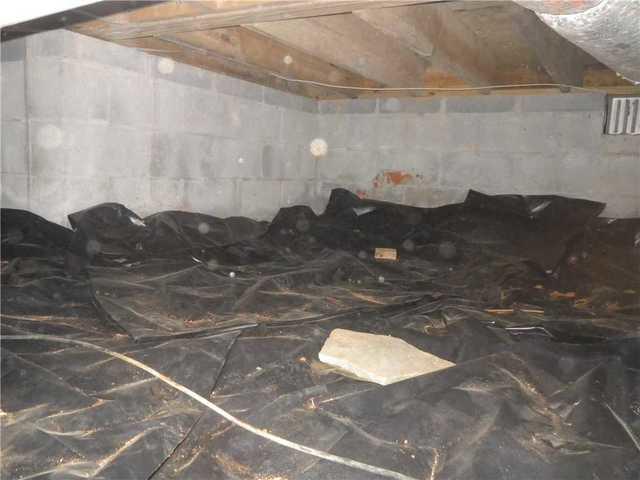
Before Waterproofing
This is the crawl space before the installation of the waterproofing system.
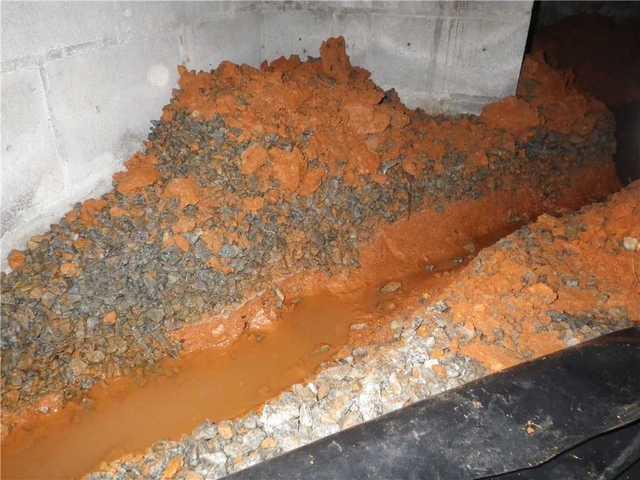
During Install
A trench is excavated along the perimeter of the crawl space to install the drainage system. Note the visible pooling water.
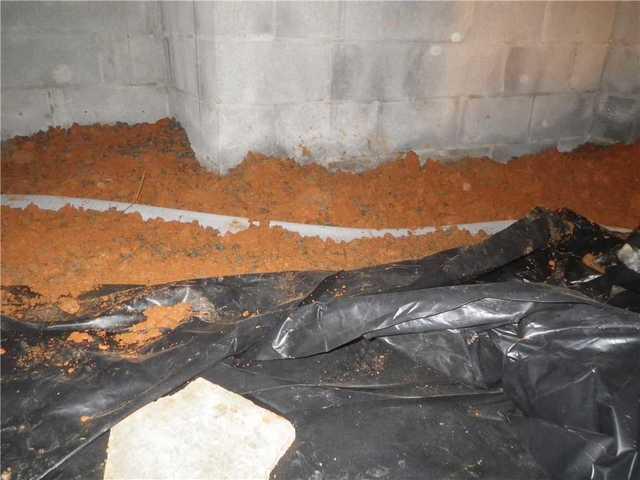
During Waterproofing Install
The drainage pipe is placed in the trench dug out of the perimeter of the crawl space.
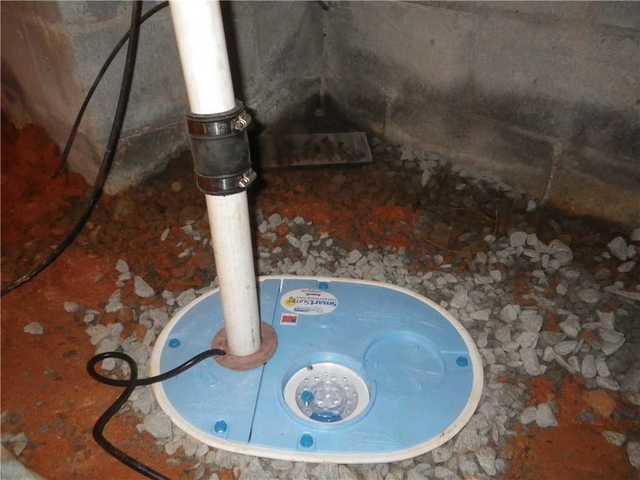
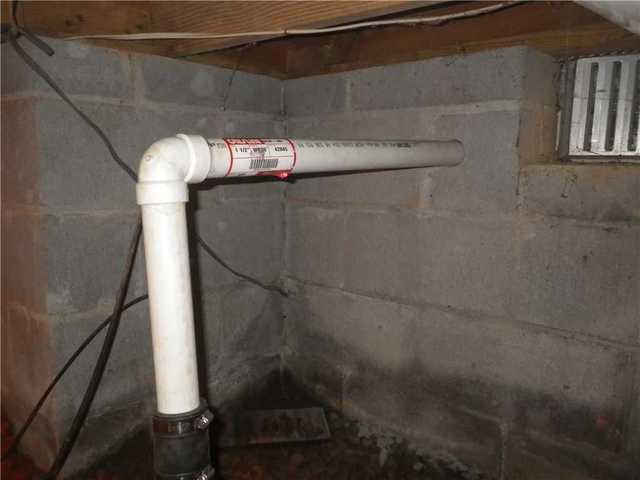
SmartSump Pump
The perimeter drainage leads to this sump pump so the entering water can be pumped out of the crawl space.
Discharge
this is the pipe running from the sump pump out of the home, where the water will be pushed out.

.png)