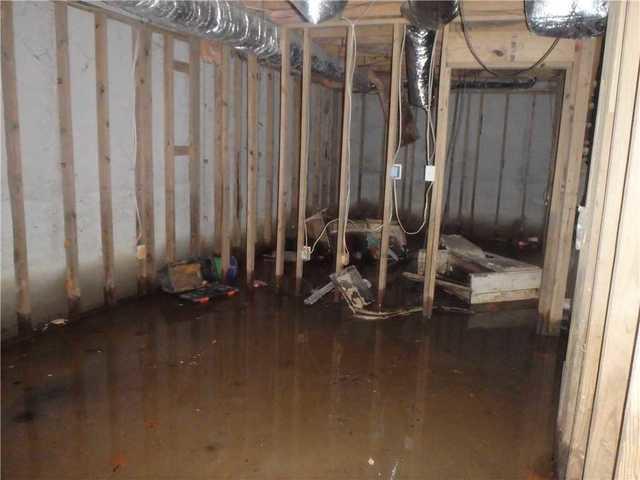
Before Waterproofing
This area is before the waterproofing system was installed.
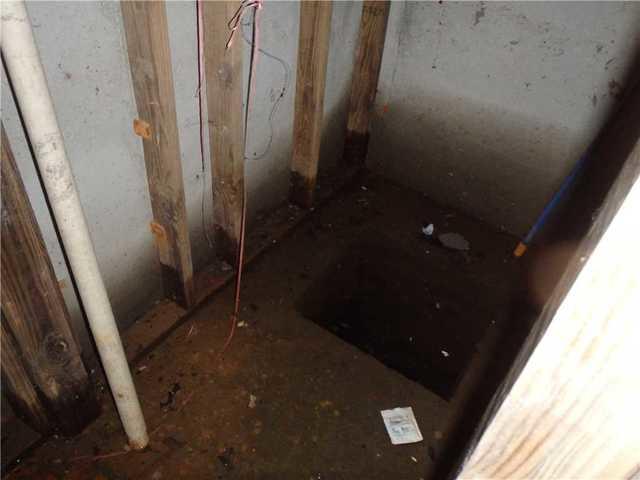
Water Intrusion
Nearly 6 inches of standing water had collecting in the basement.
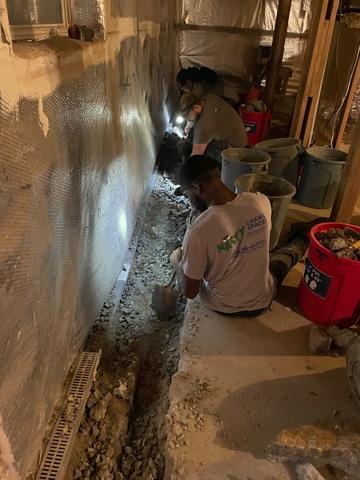
During Waterproofing
A small trench is dug around the perimeter of the basement in order to install the drainage system.
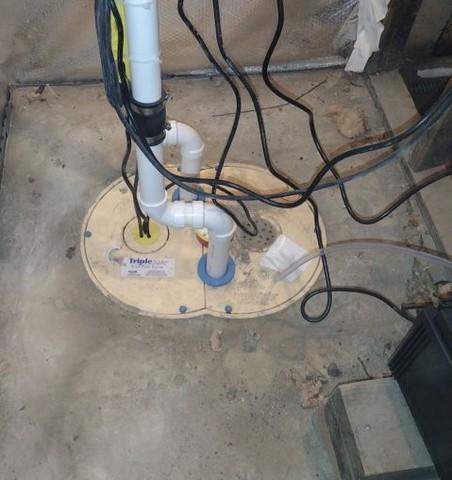
After Waterproofing
This area is after the waterproofing system was installed.

.png)