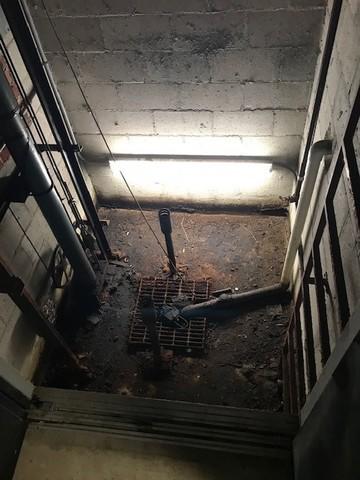
Elevator Shaft 1 Before
The rust colored surface indicates that water had been pooling for some time and the existing pumps were clogged or broken.
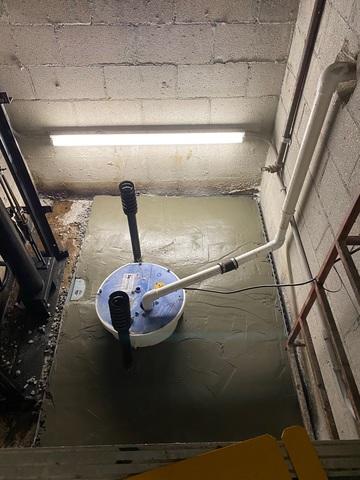
Elevator Shaft 1 After
Here is the new waterproofing system installed.
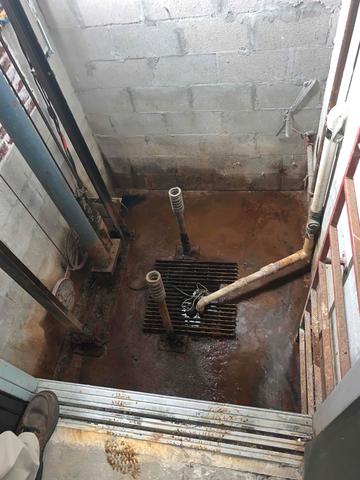
Elevator Shaft 2 Before
There had also been water pooling in this elevator shaft.
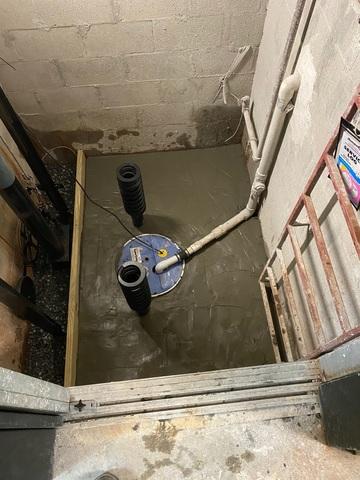
Elevator Shaft 2 After
Here is another waterproofing system installed.
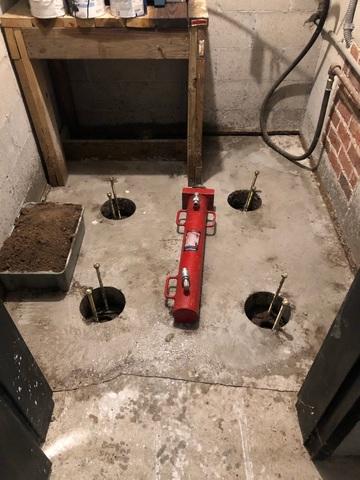
Piers Before Lift
These are the piers before lifting. notice the corner of the room where there is a gap between the floor and the wall.
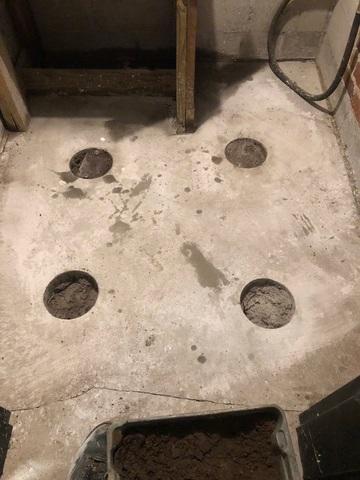
Piers After Lift
After the lift, the gap was closed and the foundation was secured.
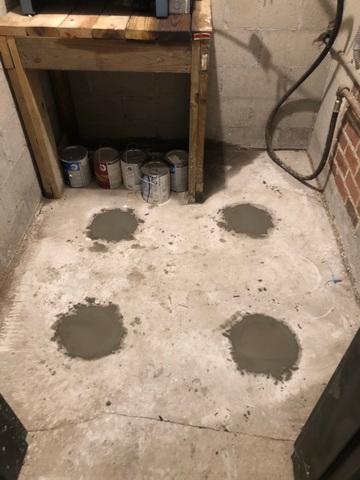
Pier Holes Filled in
The pier holes were filled back in with concrete.
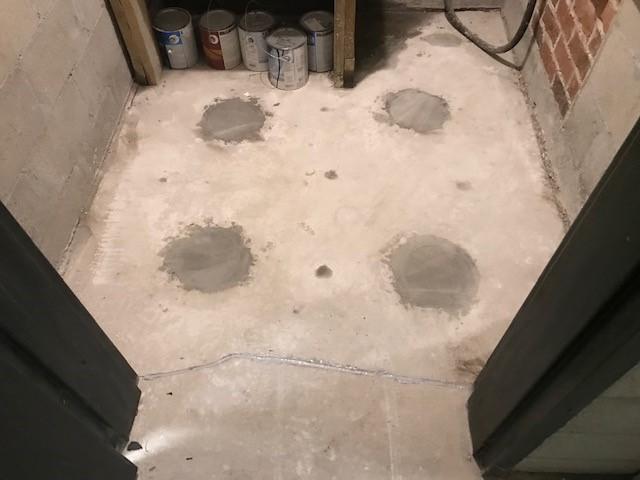
Pier Holes After Drying and Crack Sealed
This is after the concrete has dried. The crack near the doorway was also sealed.

.png)