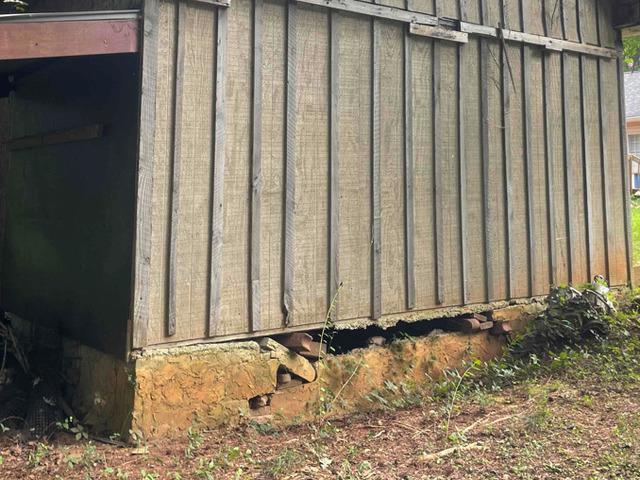
Settled Foundation Wall
This guest addition had a foundation wall that was severely settling, causing a massive gap.
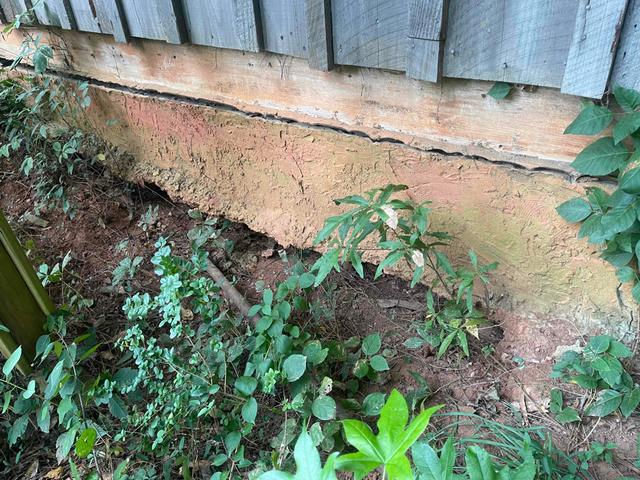
Other Side
The other side of the addition was also showing a gap from settlement. Helical piers will be installed in this location.
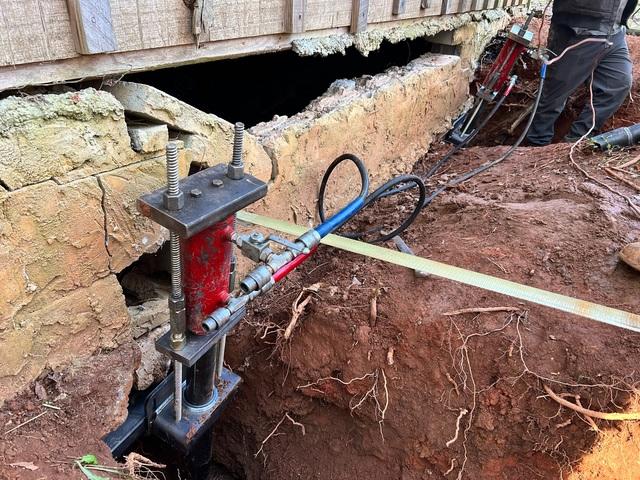
Before Lift
Here are the helical piers with the hydraulic lift cylinders attached. This is just before starting the lift.
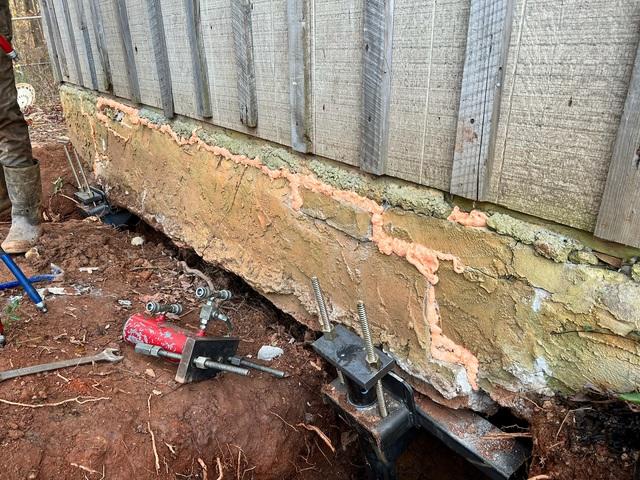
After Lift
The foundation wall was lifted back into its original position and stabilized in place. Now the void can be backfilled with soil.
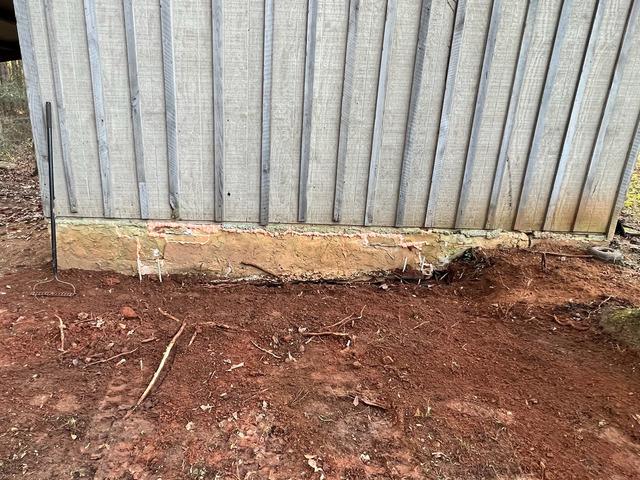
After Backfill
After the helical pier installation, lift, and backfill, this is the final result.

.png)