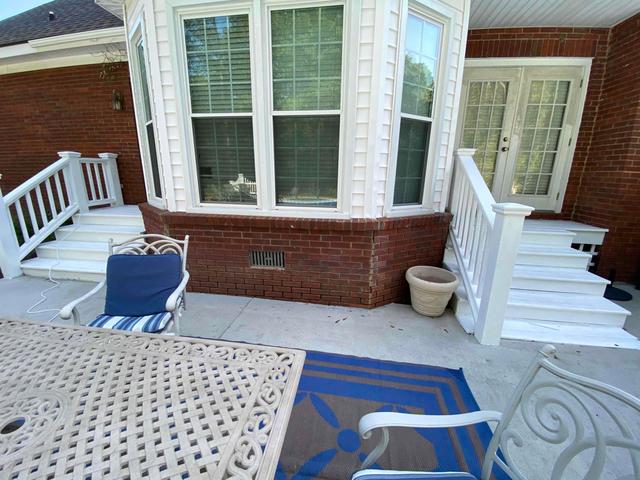
Before Piering
This is the exterior of the area of sinking in the home, where the piers would be installed

Concrete Excavated for Pier Installation
The concrete was removed for pier installation, and would be filled back in after.

Installed Piers
Here are what the installed piers look like before back-filling with dirt and re-pouring the concrete.
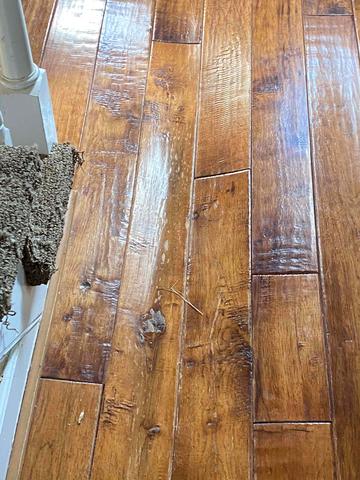
Before SmartJacks
The floor was sagging in this location

After SmartJacks
Our SmartJacks leveled and provided proper support to floor.

.png)