
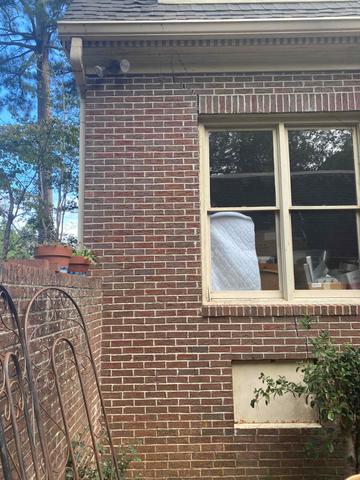
Before Piering Installation 1
Notice the stairstep cracking at the top left corner of the window.
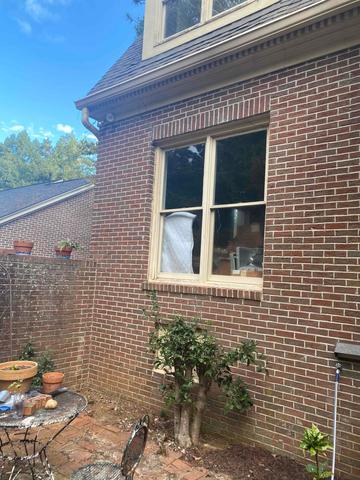
Before Piering Installation 2
This is the area the piers would be installed
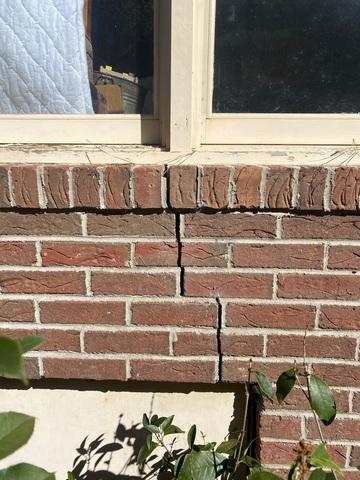
Settling Crack
Here is another crack from the foundation settling.
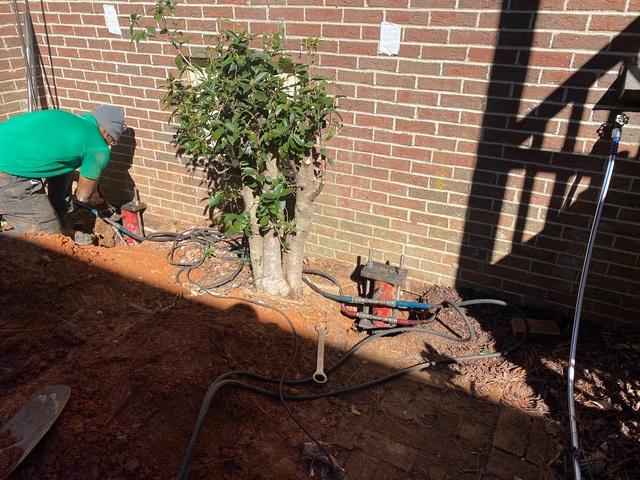
After Pier Installation
Here are the piers after installation. The lifting equipment is then removed and the holes are backfilled to cover the new piers.