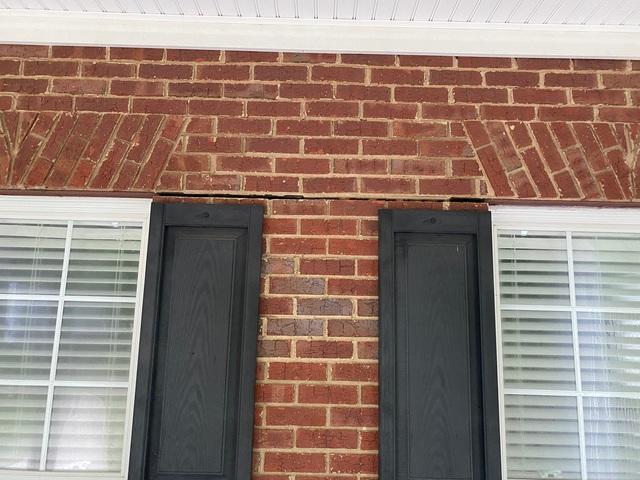
Before Piering Installation 1
Notice the gap above the window.
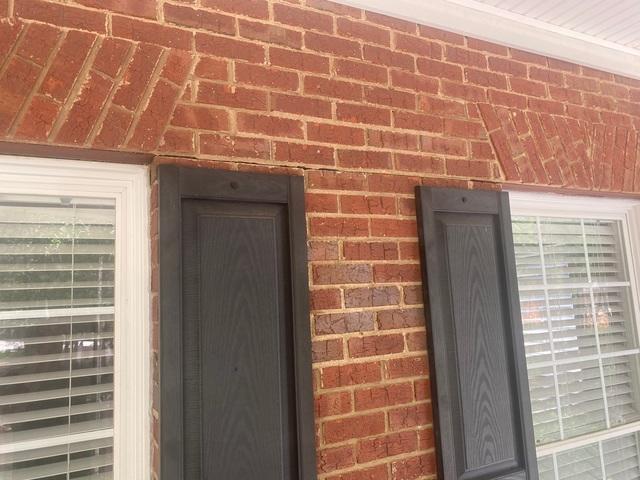
After Piering Installation 1
The gap closed well.
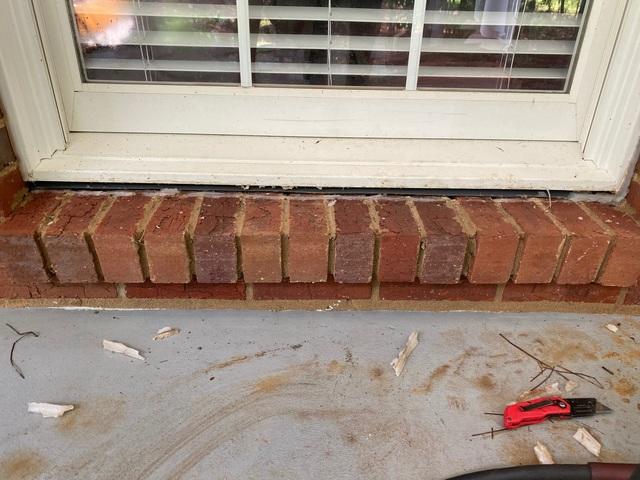
Before Piering Installation 2
Notice the gap below the window
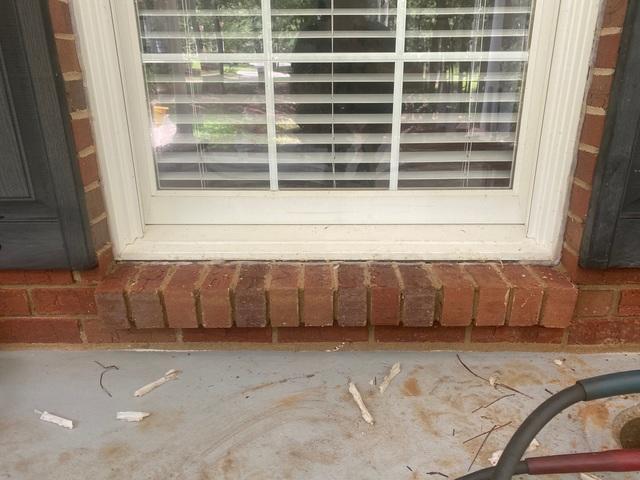
After Piering Installation 2
This gap also closed well.
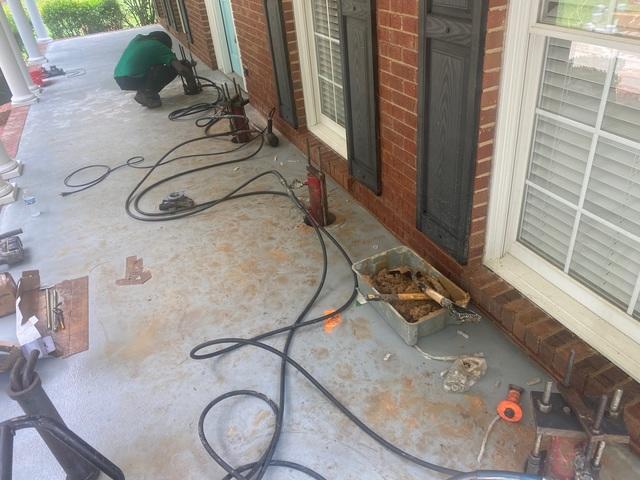
During Piering Installation
Here is what the installation looks like during the process.
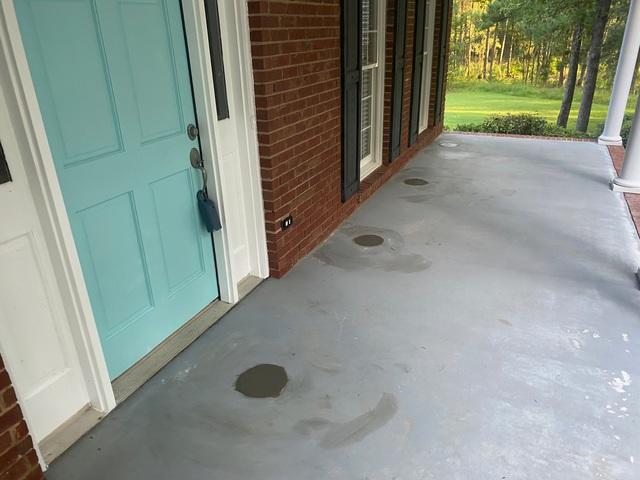
After Piering Installation Final
After installation, the holes are filled back in with concrete.

.png)