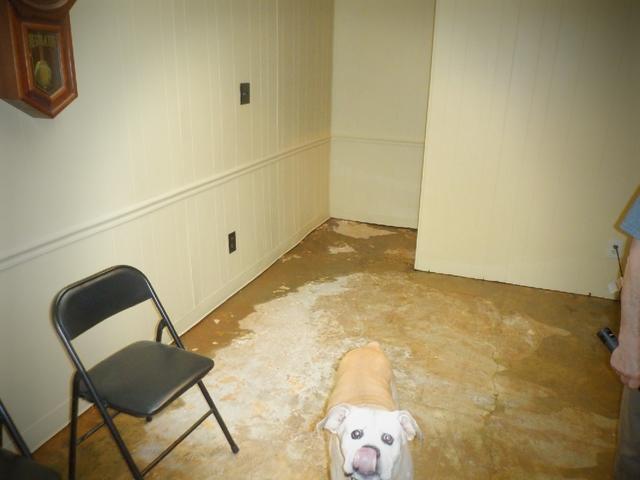
Before Waterproofing
Notice the water around the edges of the floor. When it would rain, a large portion of the floor would be wet.
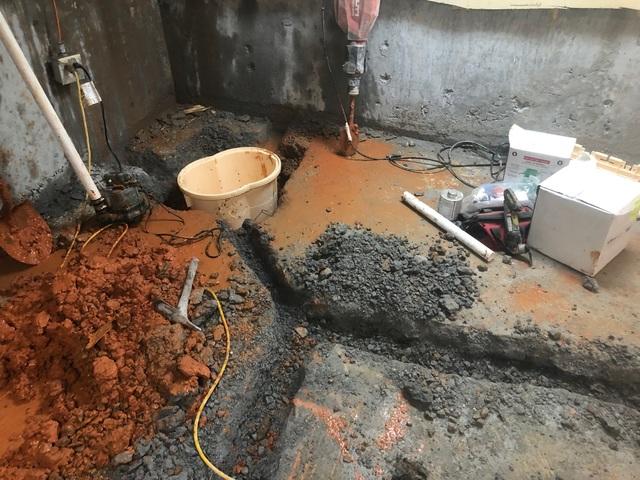
During Waterproofing 1
Here is what the space looked like during installation.
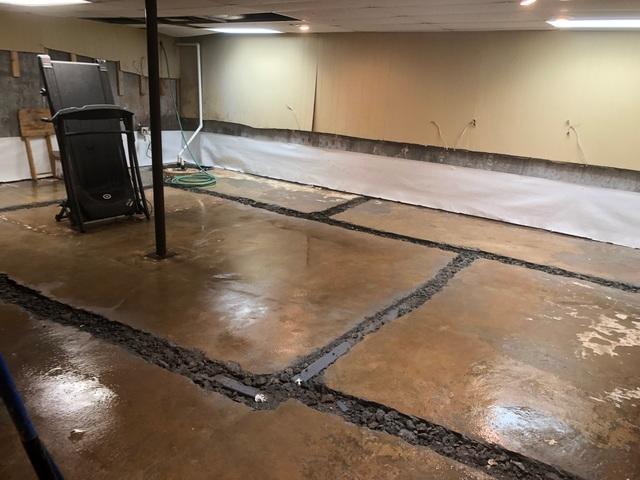
During Waterproofing 2
The trenches in the concrete are created for water drainage to the pump that removes water from the space.
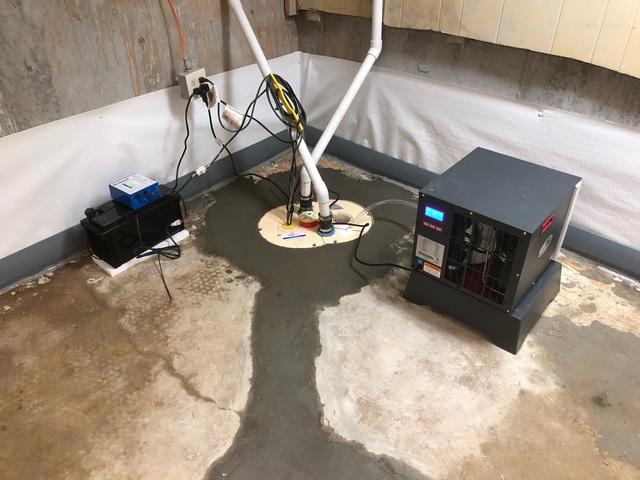
After Waterproofing 1
Here is what the pump looks like after installation.
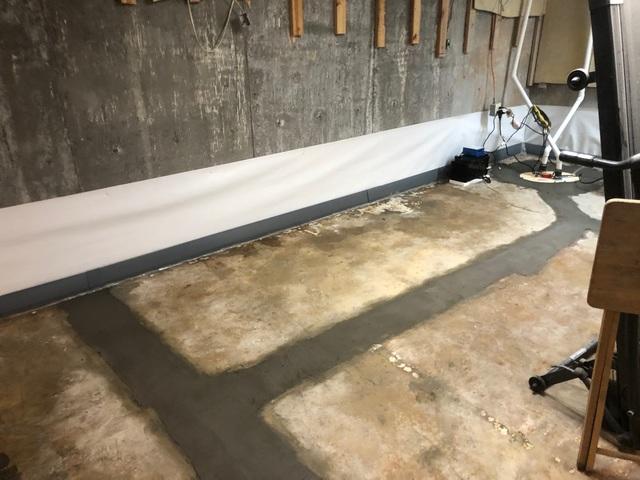
After Waterproofing 2
The trenches are covered over after the materials are installed.

.png)